
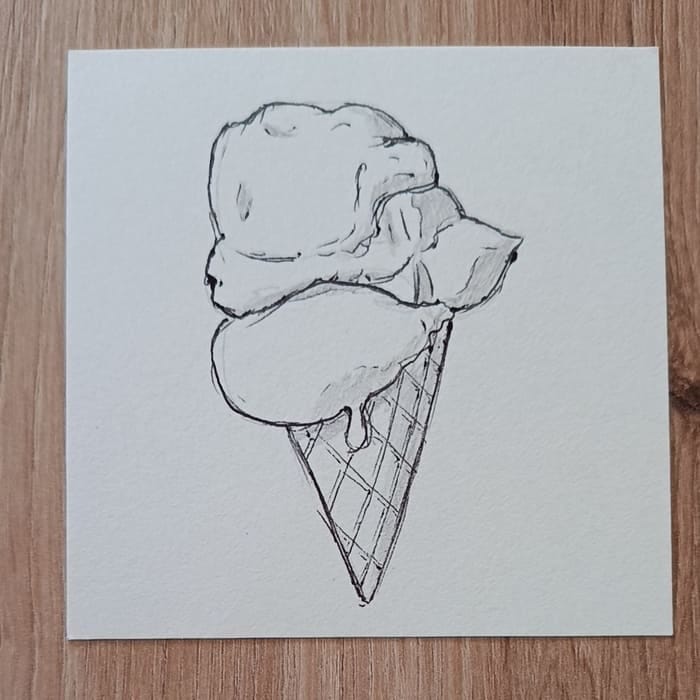
Two Scoops Before It Melts
A sweet little ice cream drawing with wobbly lines, uneven scoops, and no perfect circles required

Difficulty: medium
Materials: pen and pencil
Monthly category: Summer Goodies
Inspired by: photo by Ralphs_Fotos

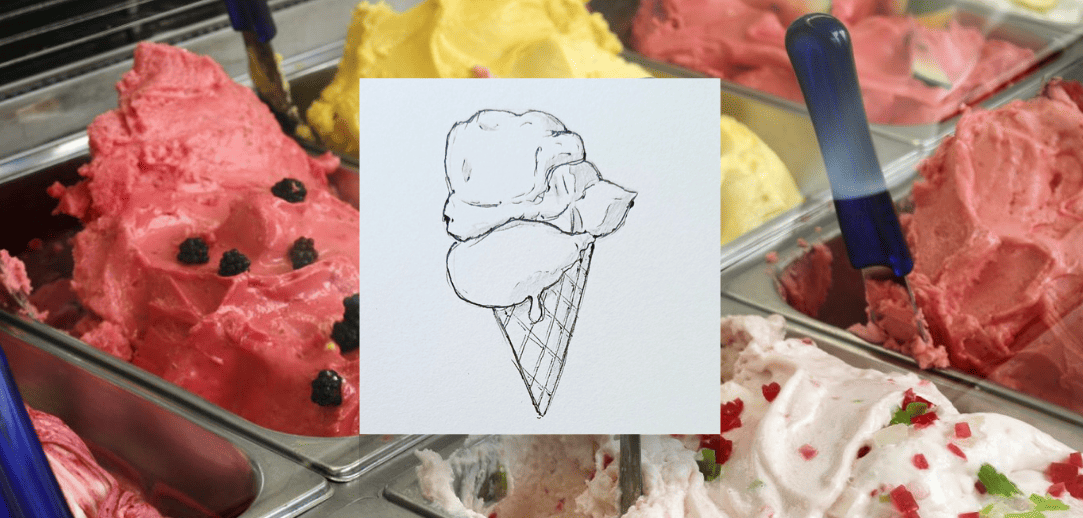
To finish June drawings in style, we are treating ourselves to an ice cream drawing, and maybe a real one, too. How does an ice cream cone with two scoops sound?
Find a cool corner, play some calm music, and let’s get started before it melts.
Settle In and Draw
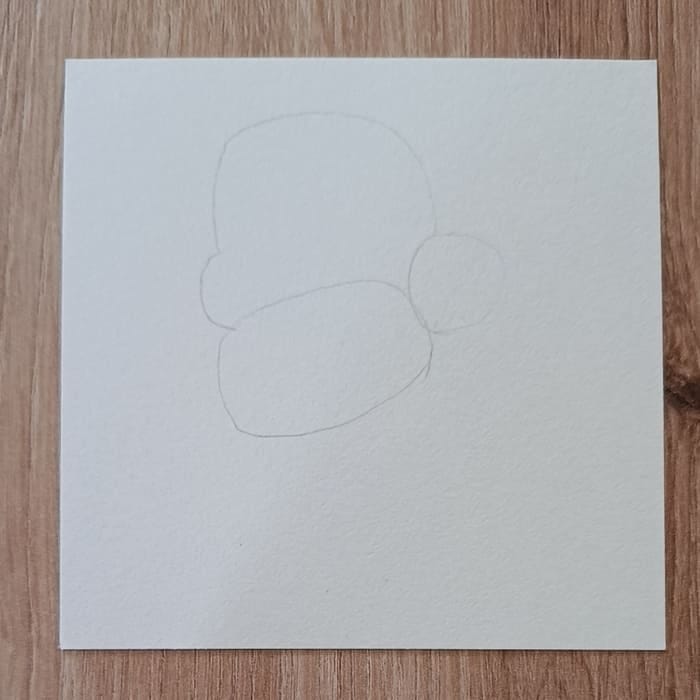
Step 1: First, draw the shapes for the scoops. Draw two larger circular shapes for the scoops and one smaller shape for the licked part. They are not perfect circles, so don’t stress over the shapes.
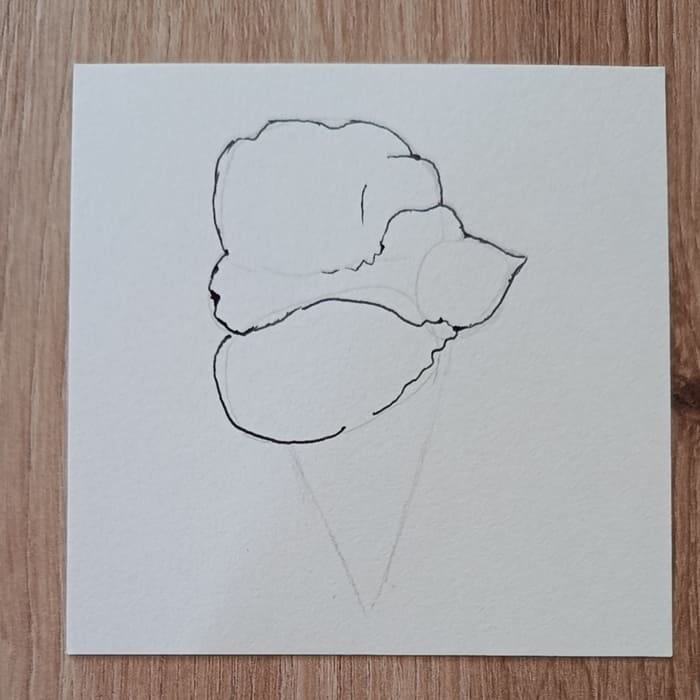
Step 2: Now draw a V for the cone. You can make it longer or narrower if you wish. A smaller cone will make the scoops appear larger — a bigger ice cream portion. A larger cone will make it look like more cone and less ice cream.
Add a pointed part to the smallest circle. It will show that this part has already been licked. Then add some circular lines to the biggest scoop.

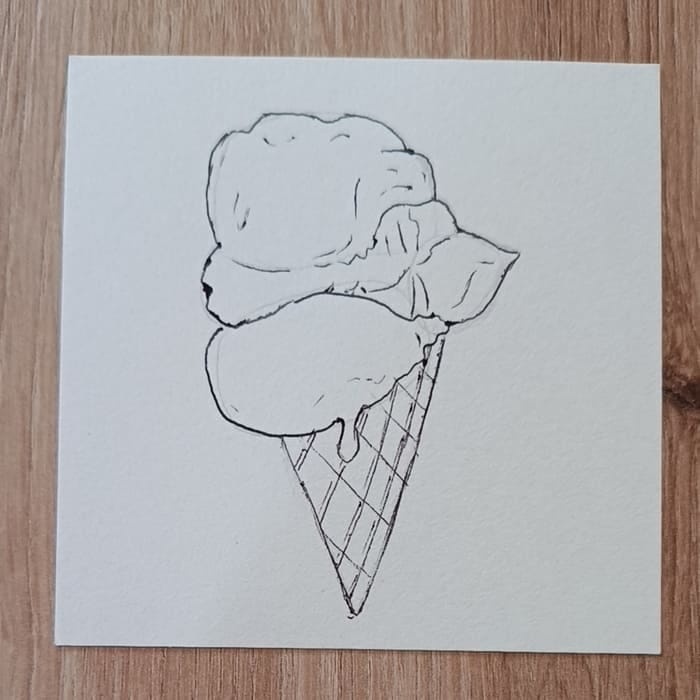
Step 3: Take your pen and start tracing over the scoops. Keep the lines wobbly and imperfect. Scoops are not perfect balls. They have little dents and melty parts. Leave an empty spot on the lower line of the bottom scoop for the drip.
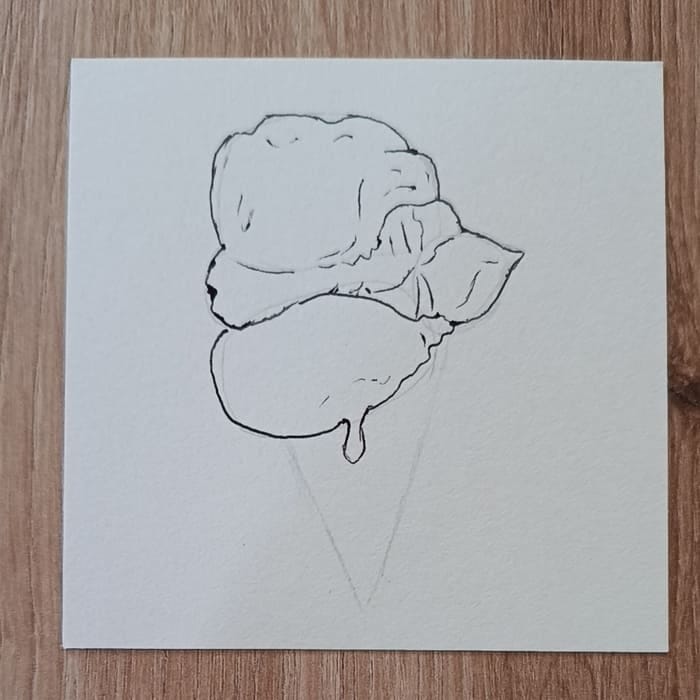
Step 4: Add many light lines inside the scoops to show the texture. Use as little pressure as possible while making those lines. Add the drip.
Step 5: Trace over the cone. Add the waffle pattern with two sets of parallel lines. Space them out so the pattern looks large.
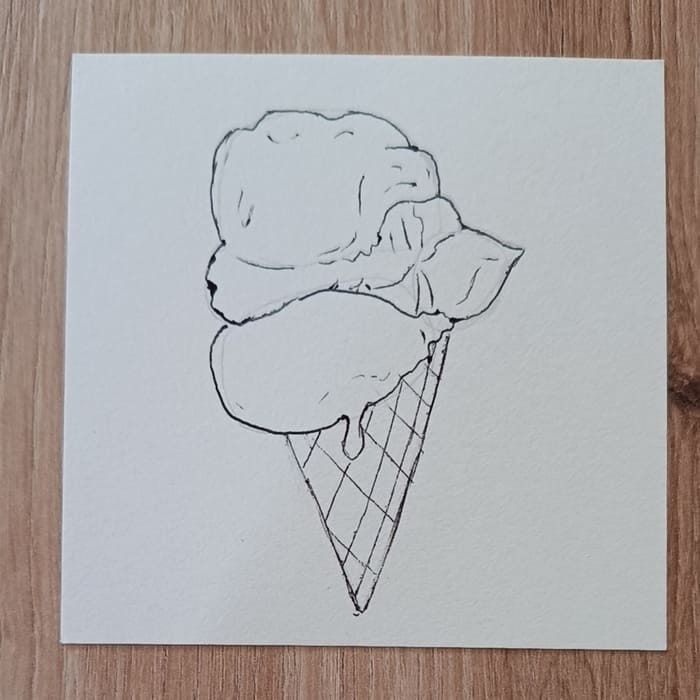
Step 6: Build up the texture of the cone. Add short, light lines close to the existing crisscross lines. In each little diamond shape, add one light line along the top edge and one along the right edge. Make those lines short and light, just little indications. Don’t let them touch each other.
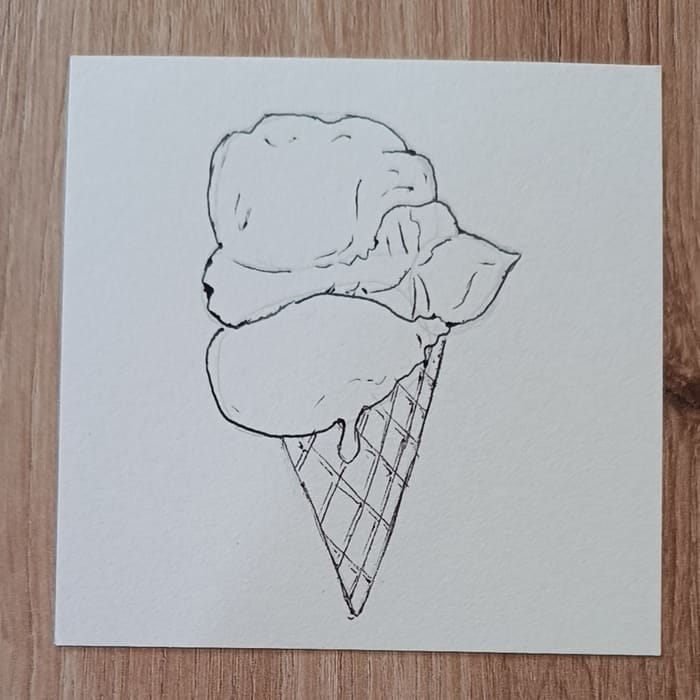
Step 7: Everything from here is optional. Your ice cream is already done. You can stop here if you are satisfied with the drawing, or you can stay a little longer and add a few more details.
I felt like mine looked too clean, so I added some scratchy lines. Just outline the two scoops and the cone with fast, short lines. Do not go over the cone’s waffle pattern or the lightest texture lines in the scoops.

Step 8: Then I felt like mine looked too flat, so I added some shadows. Take your pencil and very lightly draw a shadow near the right side of the cone and below the bottom scoop. There is no need to make it look complicated. Just shade part of the cone in one even tone. Ignore the waffle pattern for this part and shade right over it.
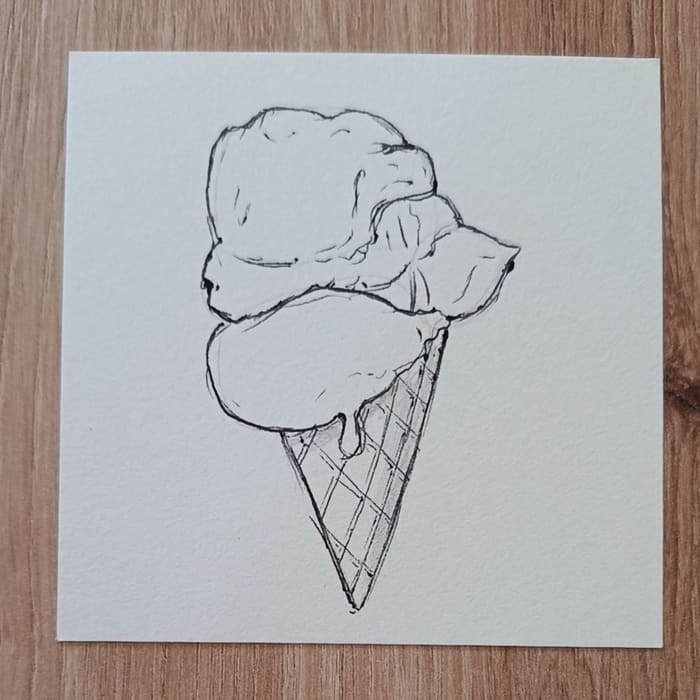
Step 9: In the same uniform tone, add shadows to the right sides of the scoops. Use the texture marks as the edges of the shadow areas. Don’t shade the drip.
Gentle Tips for Easier Drawing
Ice cream is something we can all easily imagine, and there is no strict rule for how it must look. One scoop can be bigger than the other, one side can be more melted, one part can already be licked. It will still look like ice cream. So it is really hard to make a mistake with this one. Just relax and enjoy the process.
A drawing like this has a lot of charm, exactly because every version will be a little different. Send me a picture of your drawing if you feel like sharing. I would love to see how yours turned out.
I hope to hear from you soon,
Yours in ink and paper