
The Secret Side of Lily Pads
We are drawing the underside of floating leaves, where shapes get soft and details disappear.

Difficulty: easy
Materials: pen and pencil
Monthly category: Under The Sea
Inspired by: photo by Francisco Davids

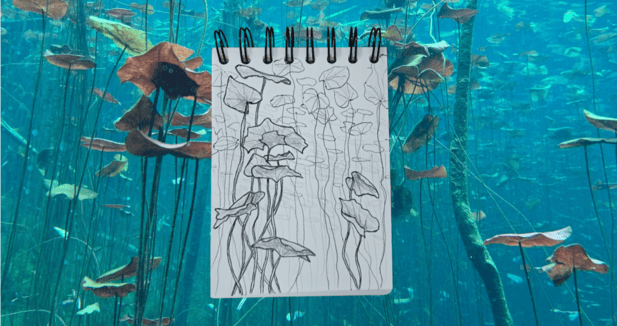
Today, we are drawing lily pads. But not in the way you might think. We won’t draw them from above, like in a Monet painting, floating gently on the water. This month’s category is taking us somewhere else: under the surface.
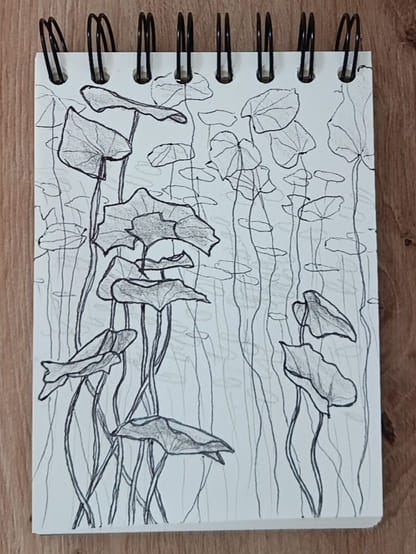
We will draw the view from below, with stems reaching up toward the light and lily pads showing only their undersides.
Find a comfy corner, play some relaxing music, and let’s draw.
Settle In and Draw
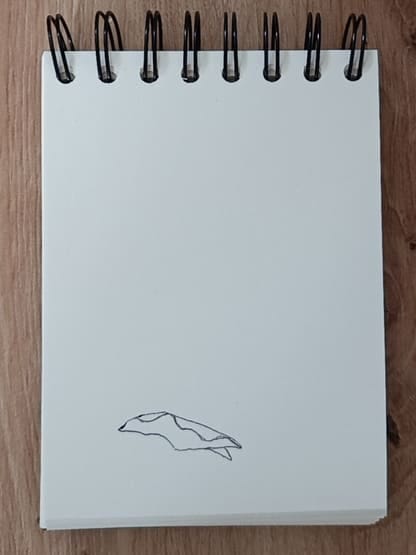
Step 1: There is no legal definition of how lily pads must be drawn. So we will just go with the flow. No sketch today. Take your pen and draw the leaves one at a time. Some are heart-shaped, some are not. Some have folds. Some are at odd angles. Have fun with the shapes.
All the leaves from this step are completely underwater. They do not float on the surface. That means water currents are bending them, so they have more curved shapes. The ones floating on the surface will be flatter.
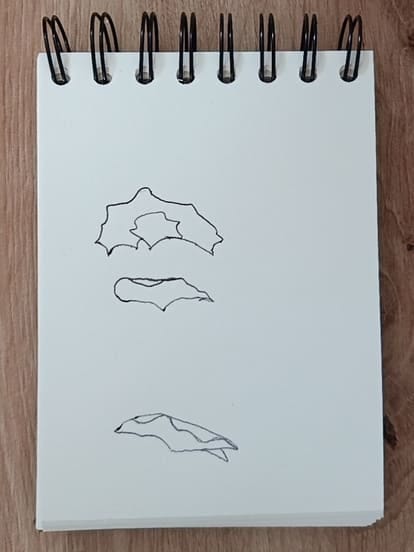
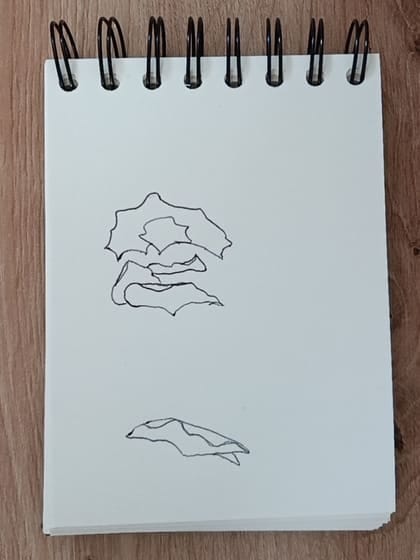
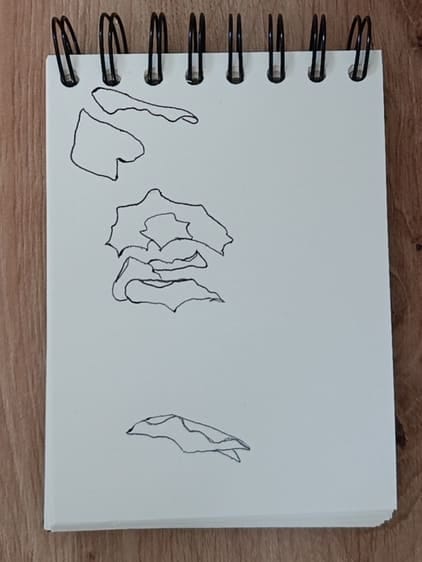
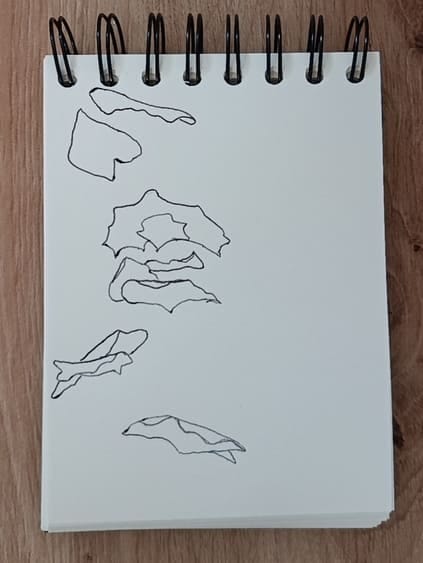
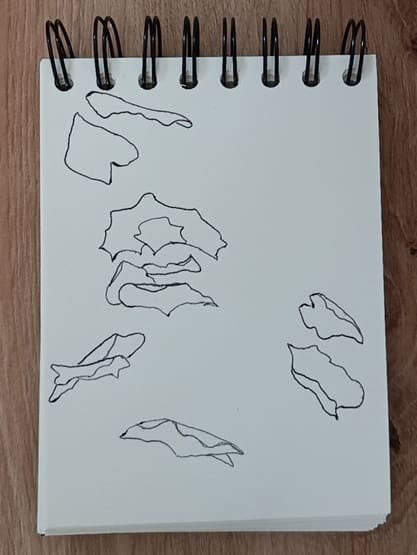
Step 2: The leaves we drew are the ones closest to us. Now let’s draw some farther away. These leaves are floating on the surface, so they do not have folds and have simpler circle or heart shapes. Draw them in the top part of the paper.
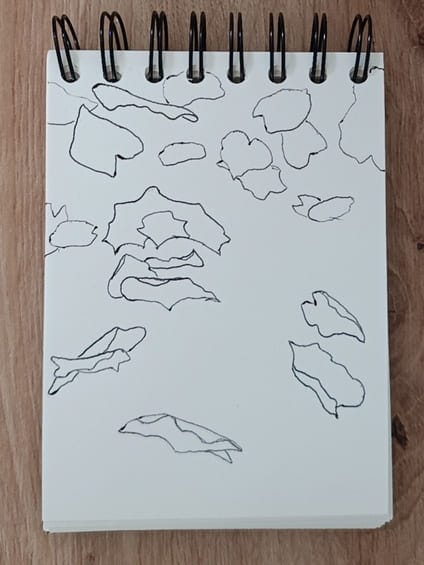
Step 3: Let’s draw stems for the first group of leaves. For each leaf, add two close lines that make a stem. Make them wavy.
If the leaf is heart-shaped, the stem usually starts in the notch.
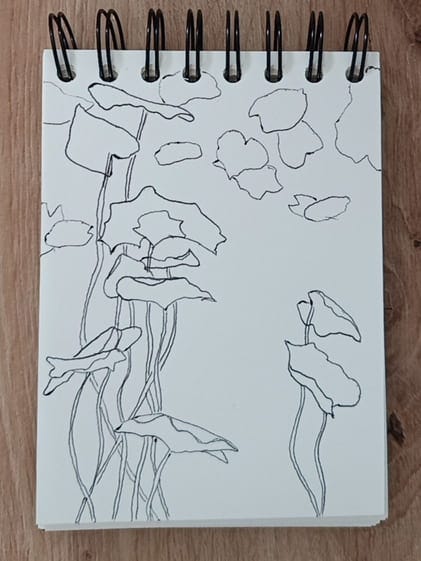
Step 4: Add stems to the background leaves. Draw each of those stems with one line. They are also wavy, but a bit more subtle.
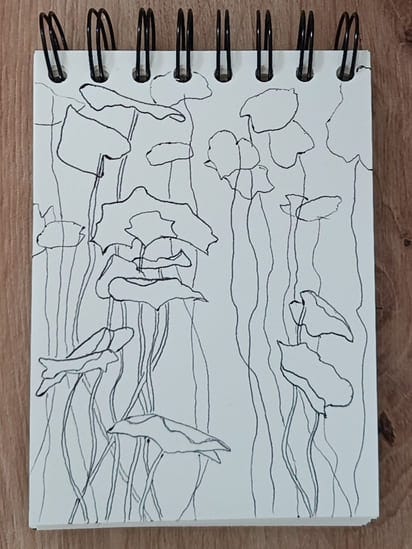
Step 5: Draw even more background floating leaves. This group is even farther away. That means the shapes are even simpler, mostly ellipses. The stems are less wavy and only indicated. They do not go all the way to the bottom of the page.
Draw these behind and below the existing background leaves. Use less pressure while drawing them.
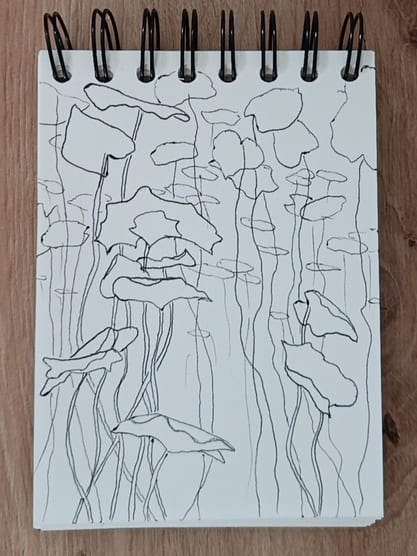
Step 6: Next are the veins in the closest leaves. All the veins on a leaf start from the same point: the stem. They go in all directions from there. No need to draw them on the folded parts.
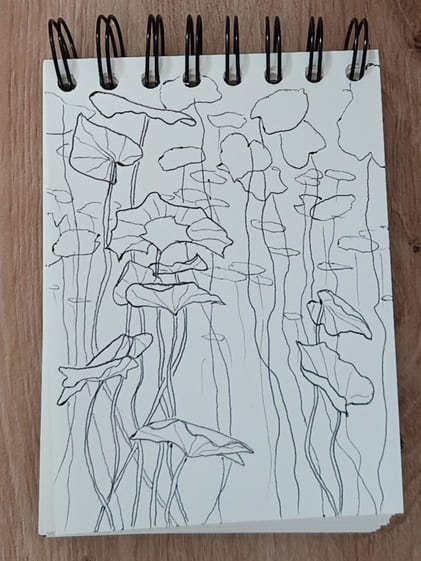
Step 7: Now add veins to the biggest background leaves. Use less pressure for this. Make sure they start from the stems as well.
Not all background leaves need veins because they are farther away, and we cannot see that much detail.
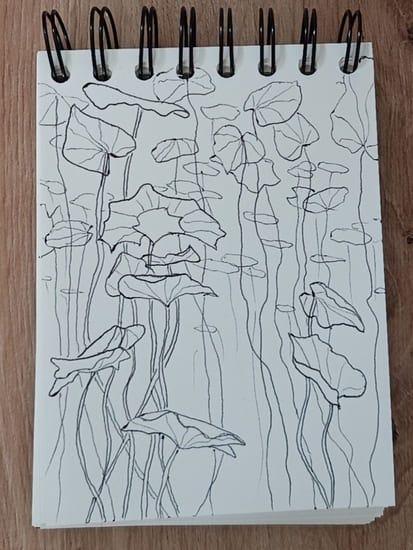
Step 8: Even though we used less pressure for the background leaves, all the lines still look kind of the same. So let’s make the closest leaves stand out.
Trace over their outer edges with a bit more hand pressure. Do not trace the vein lines.
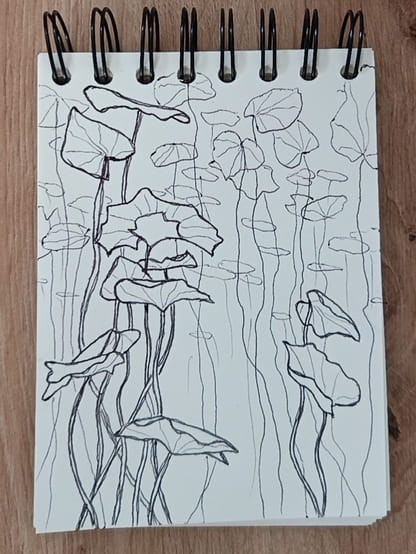
Step 9: To make them stand out even more, take your pencil and shade them completely. You can shade the stems if they are thick enough, or skip them.
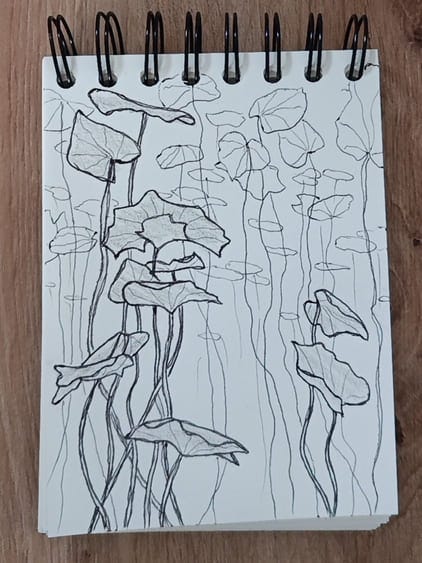
Step 10: Now let’s add some shadows. With a little more pressure, shade just a few parts of a leaf: the part where a fold creates a shadow, near the stems, or wherever you like. Don’t overdo it.
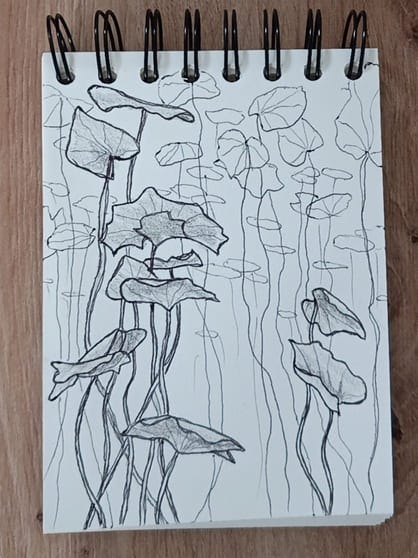
Step 11: To finish, let’s add even more background leaves. These will be the farthest away, so we will draw them with a pencil. Make them the smallest so far and use very little pressure. Draw them around the middle of the page.
Gentle Tips for Easier Drawing
This drawing is a bit unusual, and I am not sure everyone will be able to tell what we drew. But that is not the only reason we draw. If it makes sense to us, then it is a success.
This one is all about simplifying. We started with the closest leaves, the ones with all the little details. But as the leaves move farther away, they lose those details. The shapes become simpler and softer, until eventually they are just little hints of objects.
And somehow, it still works. We see the closest leaves clearly, and our imagination does the rest.
When you finish this drawing, you can show it to a friend and ask if they can tell what it is. If they can, wonderful. If not, you have made a tiny mystery drawing. Either way, I hope you had fun making it. Let me know how it turns out.
I hope to hear from you soon,
Yours in ink and paper