
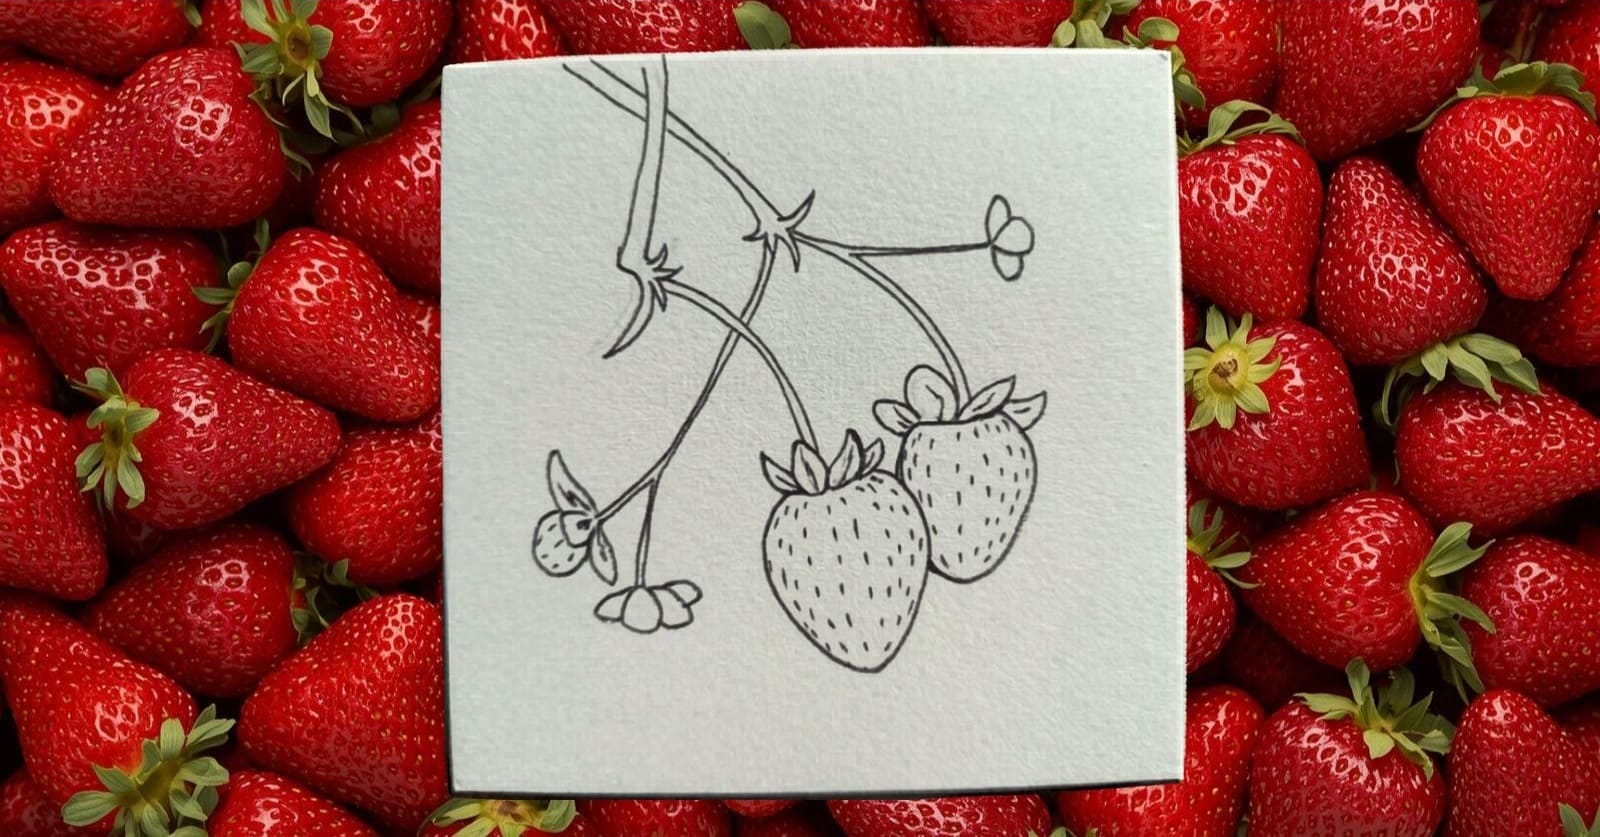
Strawberry Picking
A little taste of summer in your sketchbook.

Difficulty: easy to medium
Materials: pen and pencil
Monthly category: Summer Goodies
Inspired by: photo by Mai In May

June brings summer with it, so that will be our inspiration for this month’s category. With Summer Goodies, we will cover favorite little parts of summer that await us this month. So let’s start with the tastiest one.
I LOVE strawberries. Deciding between fresh ones or the ones in a cake is a real struggle. I won’t lie, eating them is more fun than drawing them, but here we are. If you can, find a few real strawberries to use as models. They can serve as a reward later. Play some relaxed summer music. Grab your sketchbook.

Settle In and Draw
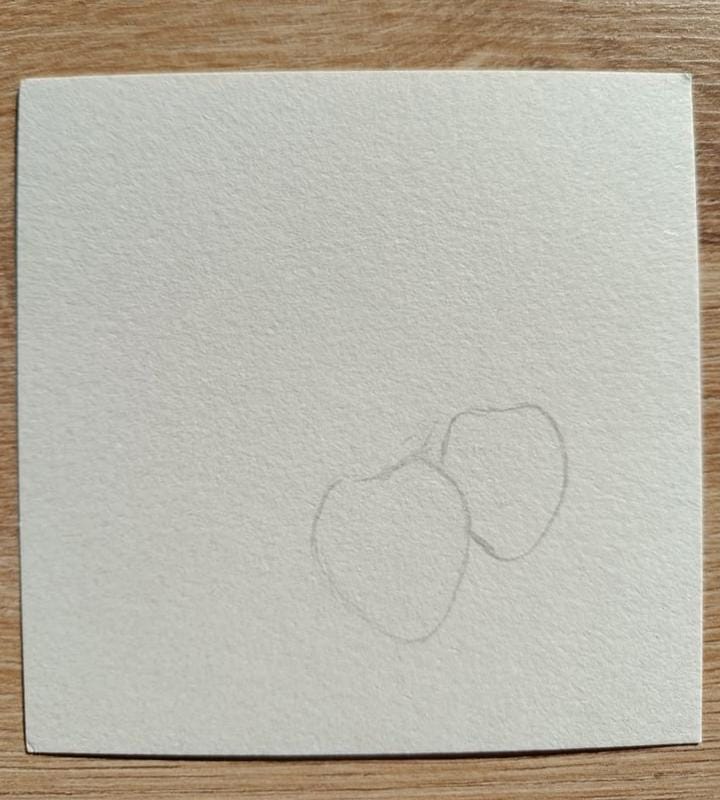
Step 1: Let’s start with the strawberries themselves. Place them in the bottom-right corner of the page, not too close to the edges. Make them overlap. The one closer to us is bigger, so make it slightly longer. Smaller strawberries are usually more round, so apply that to the second one.
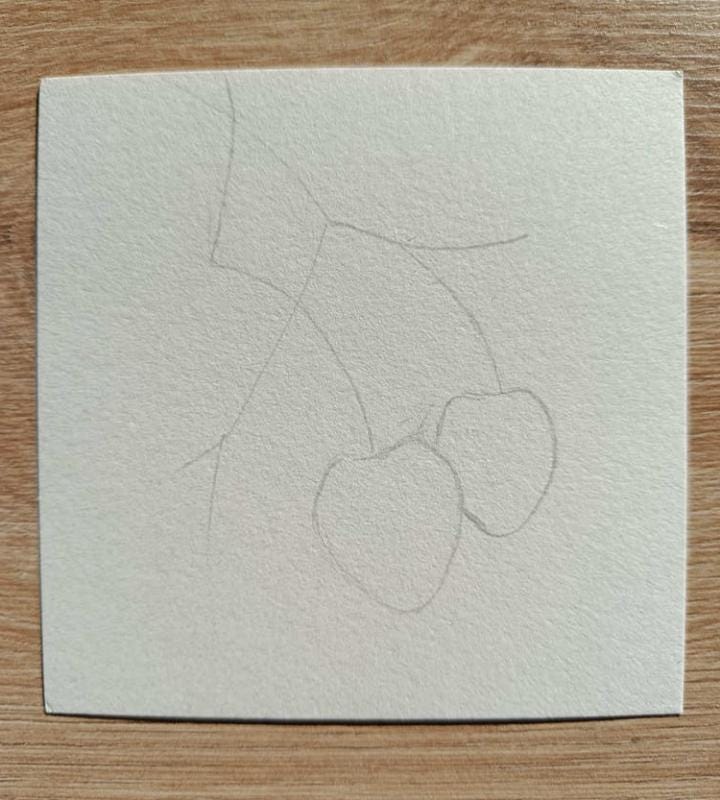
Step 2: Add stems as simple lines. Do not press your pencil too hard. If your hand feels stiff wiggle it a bit. Relax, this part will not ruin the drawing.
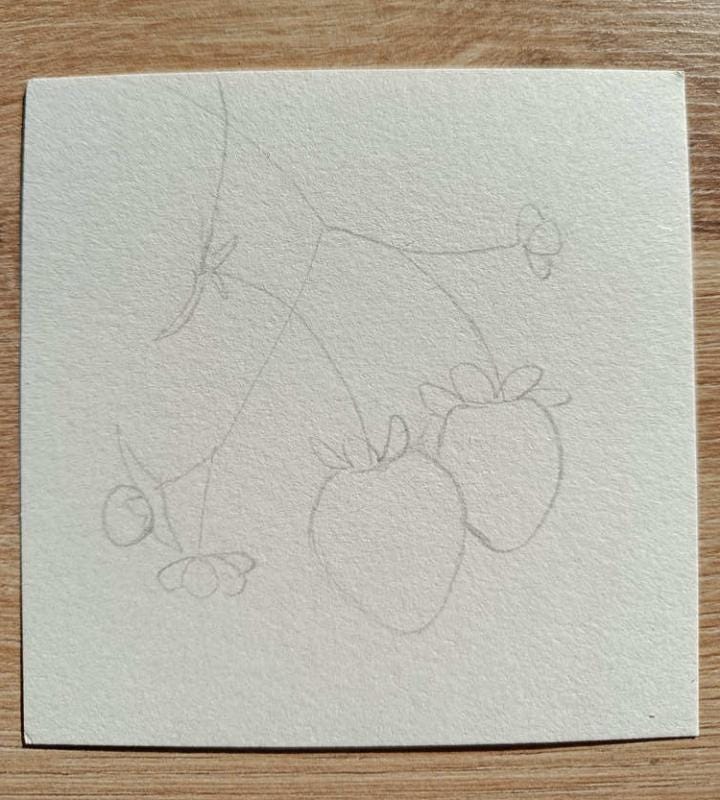
Step 3: Now add leaves, flowers and a baby strawberry. Draw leaf by leaf, no rush. Enjoy the process. This is all we need for a simple sketch.
Step 4: Now switch to pen. Start with leaves, tracing the pencil lines. Make sure to leave small empty spaces where the stems will come out from under the leaves.
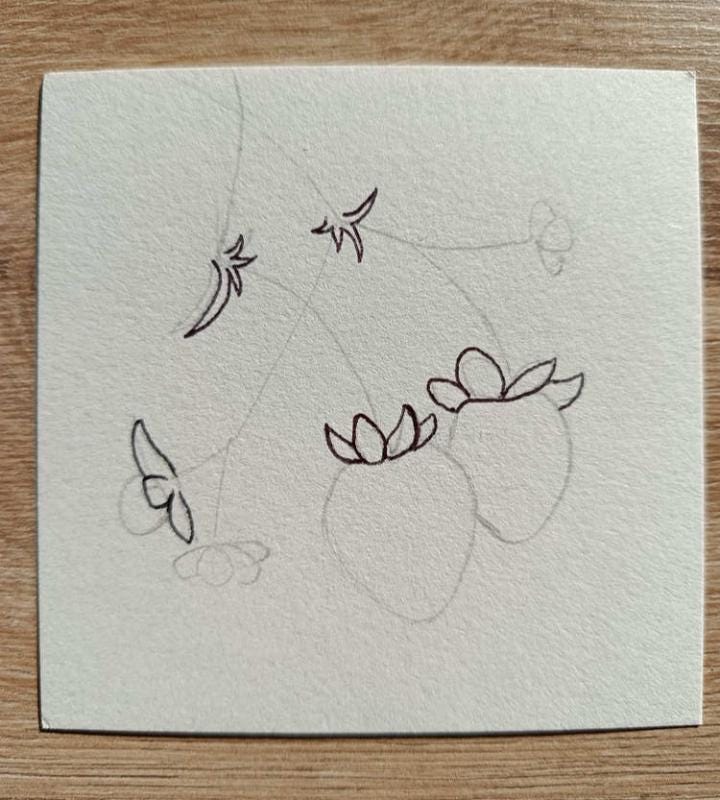
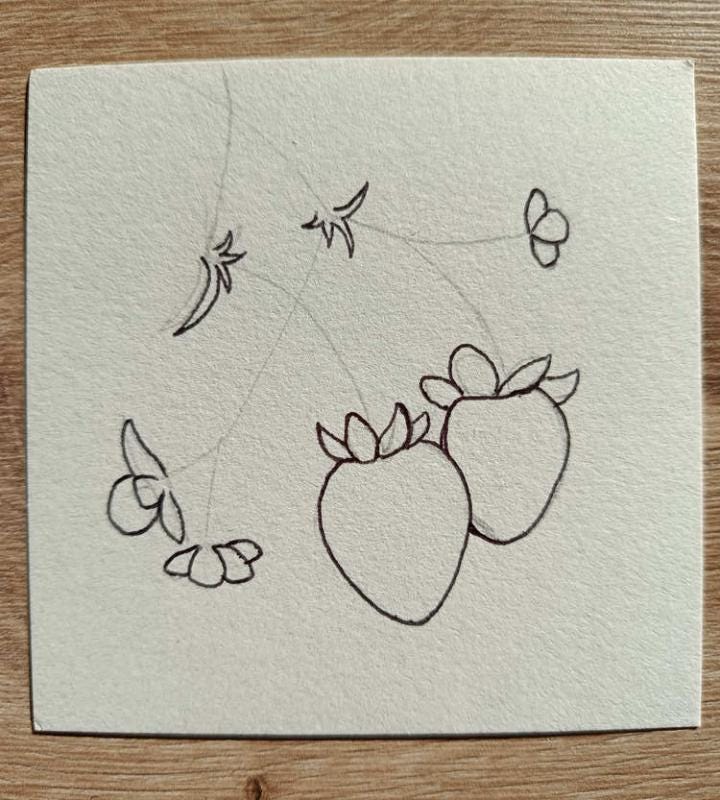
Step 5: Trace flower petals and strawberries. This is your final chance to change their shape if you wish.
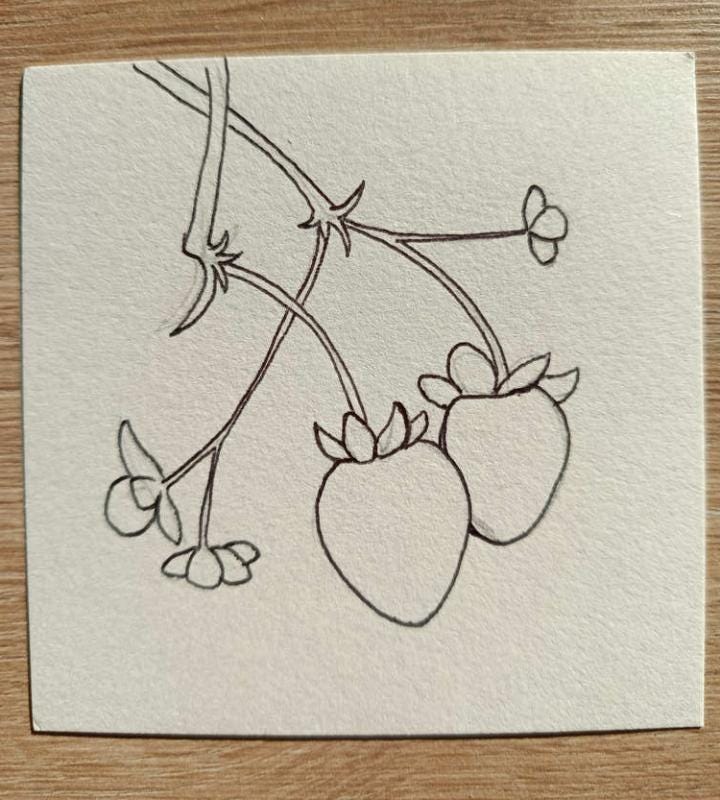
Step 6: Add in steams. Biggest strawberry is closest to us, so draw its stem first. Make steam parts closer to strawberries as thin as possible. It is okay if steam lines touch (it makes it more artsy). Parts near the top of page should be thicker.
Step 7: Strawberry seeds are next. Make them by drawing simple dashes. Be sure they are not too small. Start by drawing a row of dashes near the side of the strawberry. Follow its curve. Draw the next row of dashes next to it. Then start new row from opposite side of a strawberry, following that curve. Continue until the whole area is filled.
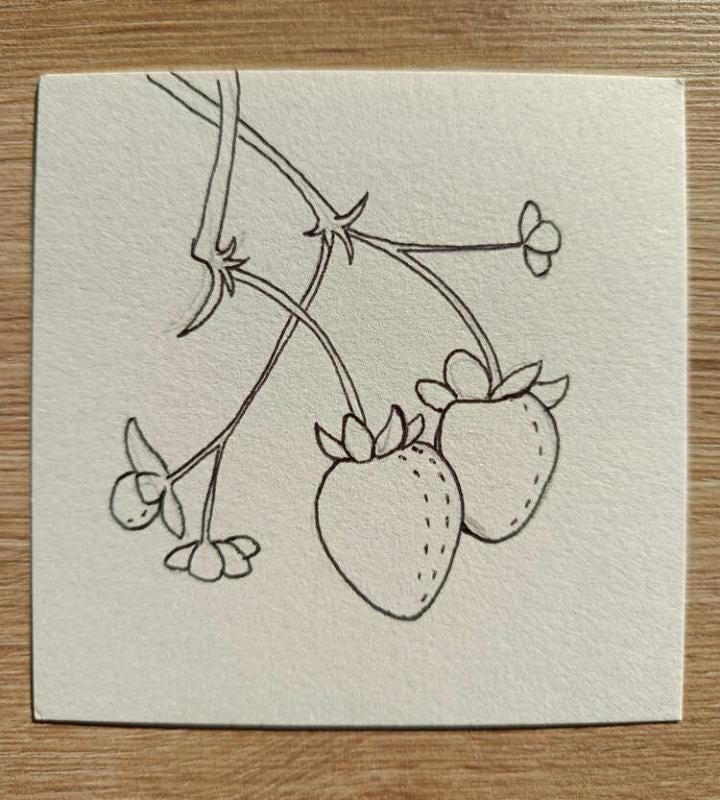
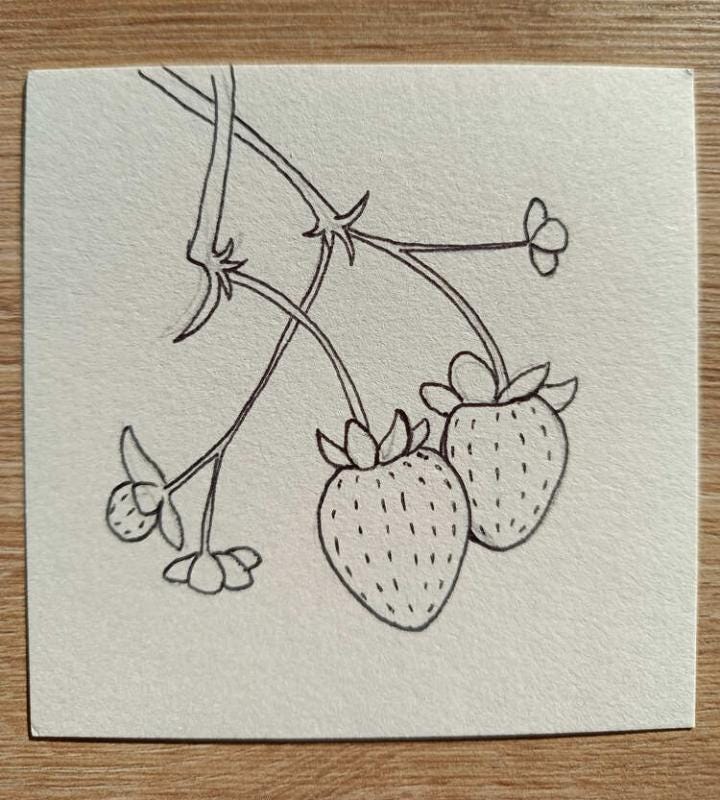
Step 8: It is time for finishing touches. Finish strawberry seeds. Add some random seeds mostly around the sides of each strawberry. Do not forget about baby strawberry. Add random lines in the middle of leaves to create texture.
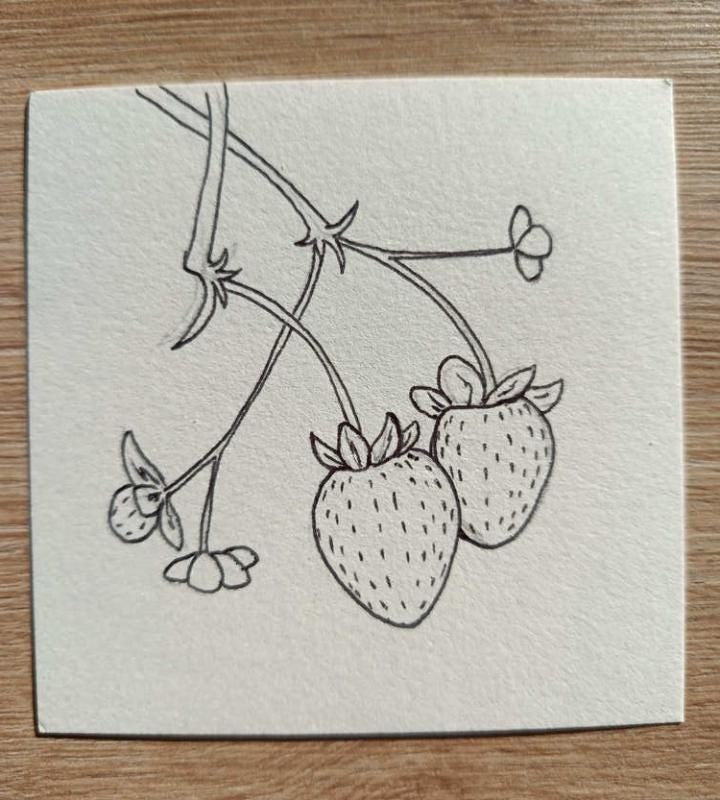
Step 9 (optional): If it bothers you, you can erase pencil marks that are still visible. You want to avoid smudges. So be sure all pen lines are completely dry before doing so.

Gentle Tips for Easier Drawing
The two main strawberries are the most important part of this drawing. If you draw them nicely, everything else will follow. What you want to pay attention to is their shape, size — even bigger than mine would be fine — overlap, and seeds. They do not need to be perfect, but you do need to like them.
The good thing is that once you sketch your two strawberries, you can relax. Everything after that should feel like a vacation. So enjoy it.

Tell me if you had trouble drawing this one. Were there any hard parts? If you are feeling bold, send me your finished drawing. Reply to this email, and I will make sure to send a few words back. Or post it on socials, if that feels easier.
I hope to hear from you soon,
Yours in ink and paper