
Overpacked, Obviously
A cozy travel essentials drawing with clothes sticking out, tiny wheels, and no need to zip it up.

Difficulty: hard
Materials: pen and pencil
Monthly category: Travel Essentials
Inspired by: photo by cottonbro studio

This is the first letter of July, and that means we are switching to a new category. This month, we will draw travel essentials: some of the little things that end up on our packing lists. Four cozy little objects, four small travel moments. Let’s start with the first one.
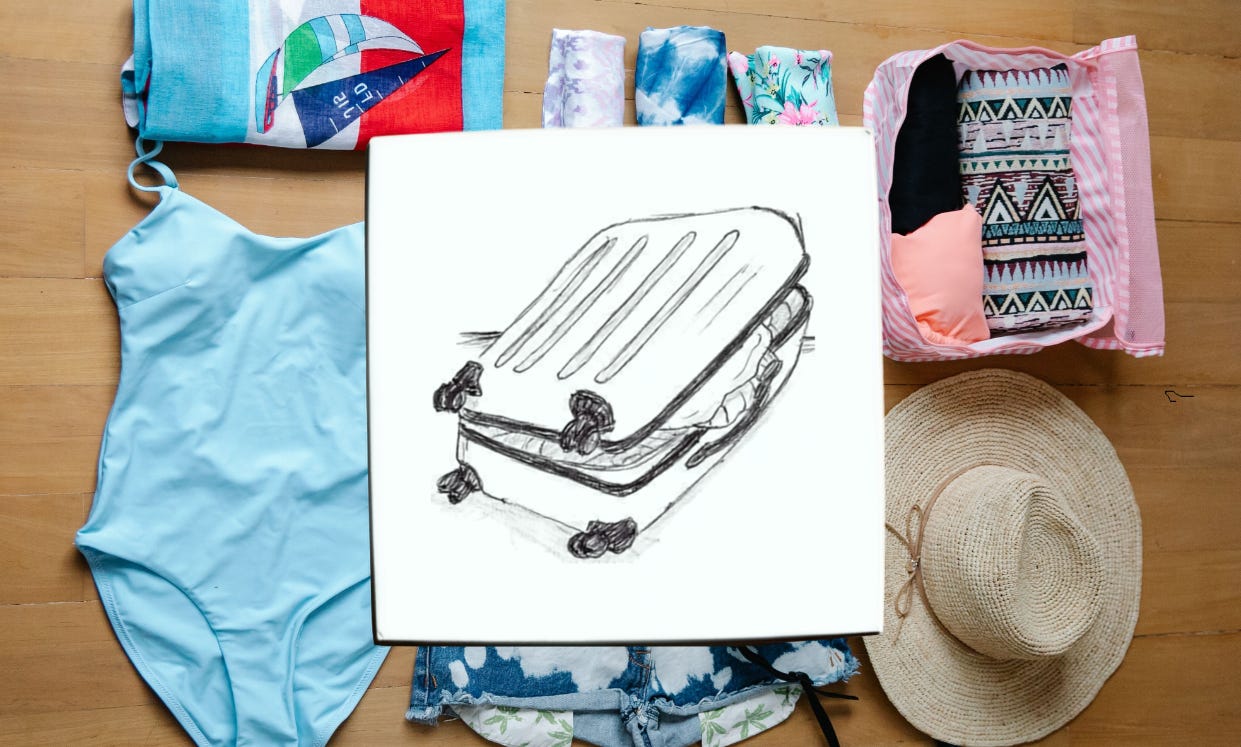
When it comes to packing for travel, the first question that always pops into my mind is: wait… do I know where my suitcase is? Luckily, I don’t have to go looking for it right now. I can just draw it from a picture.
The one we will draw is overstuffed, with a few clothes sticking out, which feels like a very familiar situation. The good news is that we do not have to zip this one up. Let’s draw.
Settle In and Draw
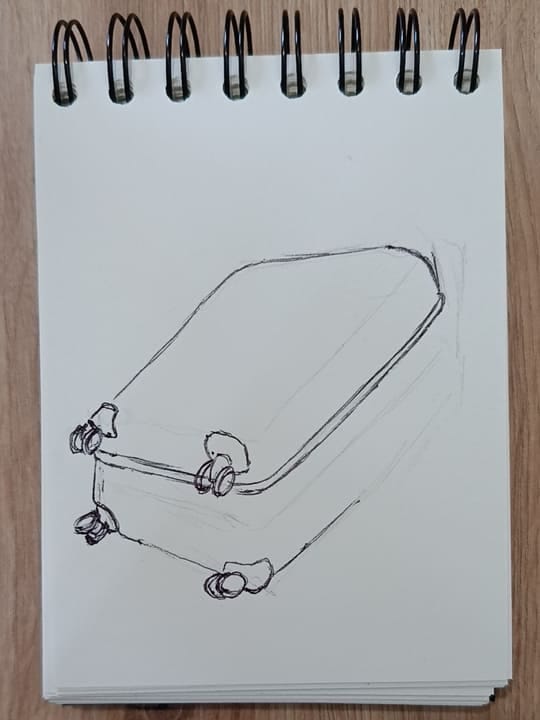
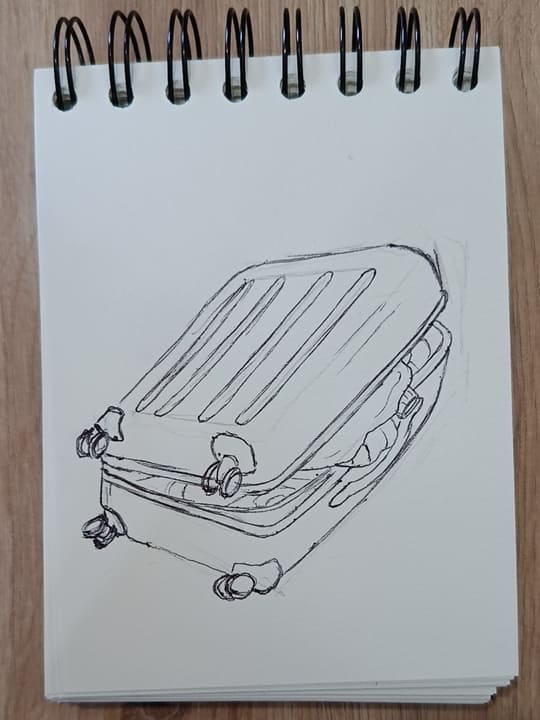
Step 1: Let’s start very simple: a basic rectangular box. This is going to be the entire drawing space, so make it big.
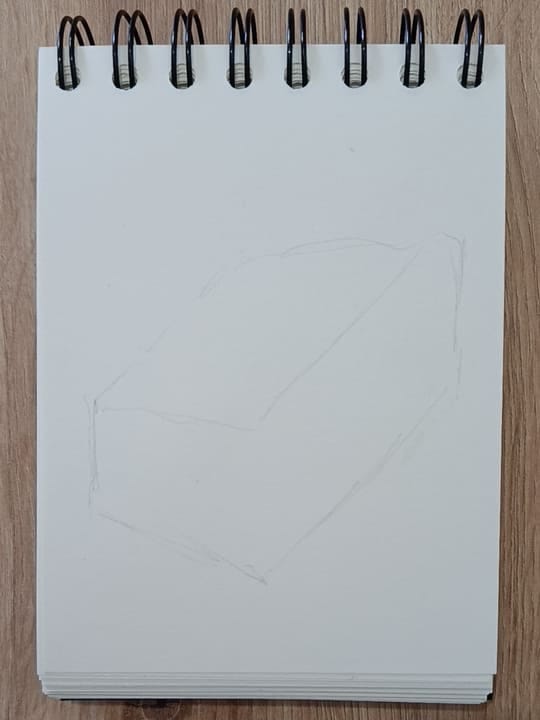
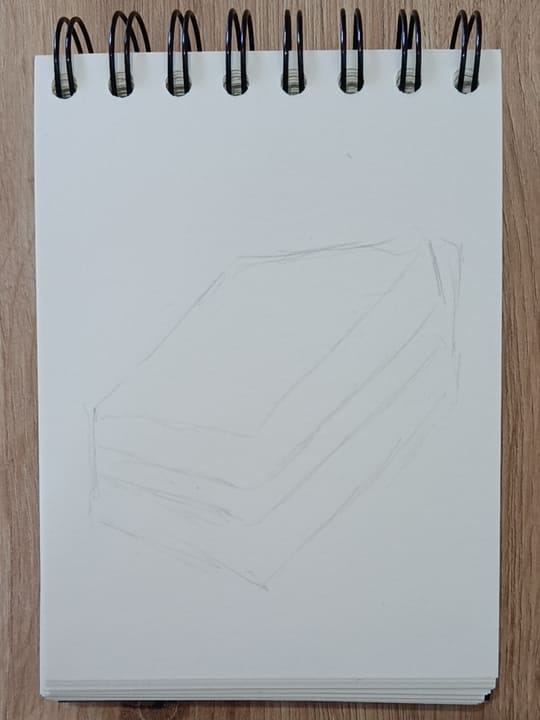
Step 2: Now let’s separate it into two parts: the lid and the base of the suitcase. They are not parallel. The lid is connected to the base on one side and more separated on the opposite side. So make the lid more tilted, especially the top-right corner.
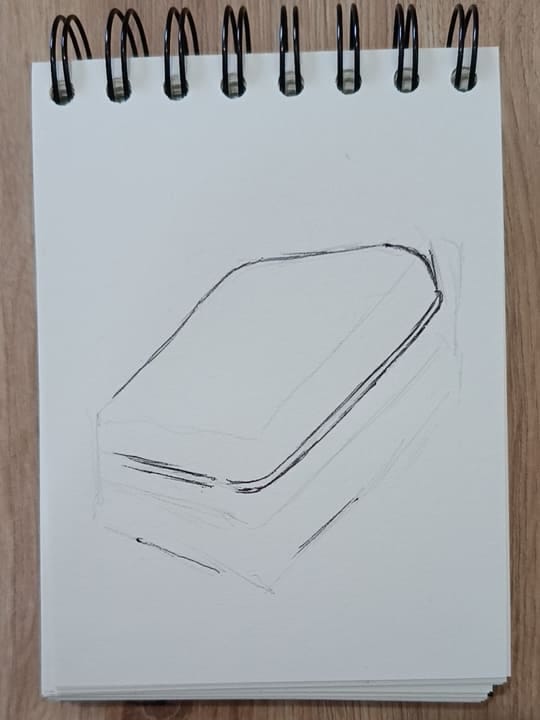
Step 3: Take your pen, and let’s start turning this into a suitcase. Trace the lines of the lid, but make the corners rounded. Leave out the space where the wheels are going to be. Double the bottom line where the zipper is going to be.
Step 4: Now comes the hard part — the wheels. Wheels and their little supporting parts have very specific shapes, so this part can feel a bit awkward.
Think of them simply as pairs of little double-outlined circles connected with some weird shapes. I advise you not to care about them too much. Just draw what you can and leave it. Don’t overcorrect them or press your pen too hard. You can come back to them later and fix them.
The wheels are the trickiest part of this drawing, but also the least important. They are small, they will be colored black, and no one will inspect them too closely. Do your best and move on.
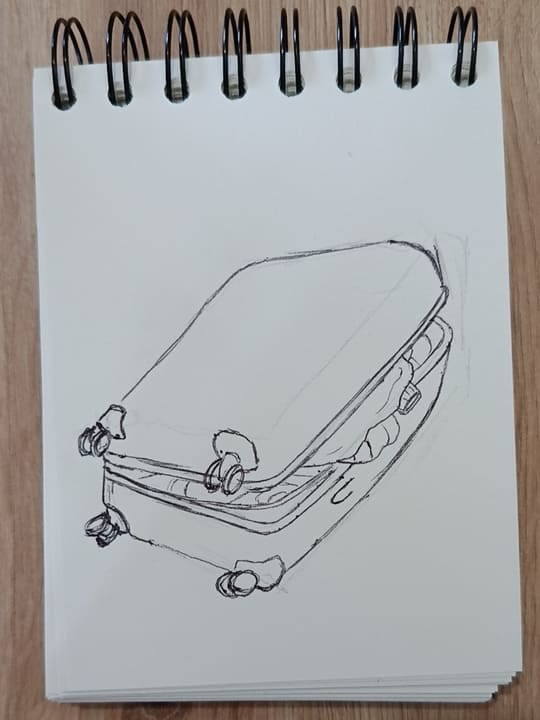
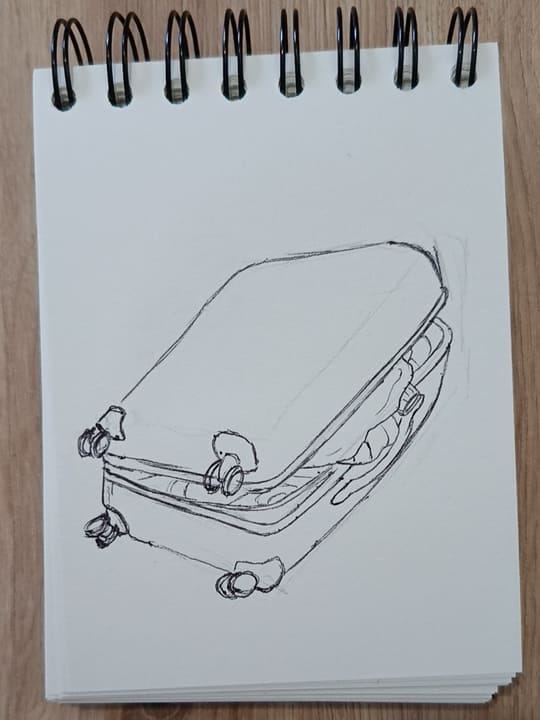
Step 5: Trace over the base of the suitcase and double the top line for the zipper. Leave empty spaces for the handle and the clothes sticking out.
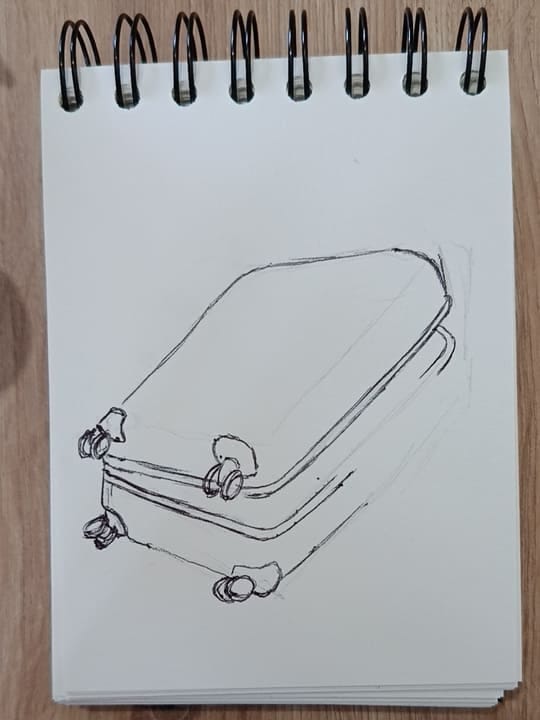
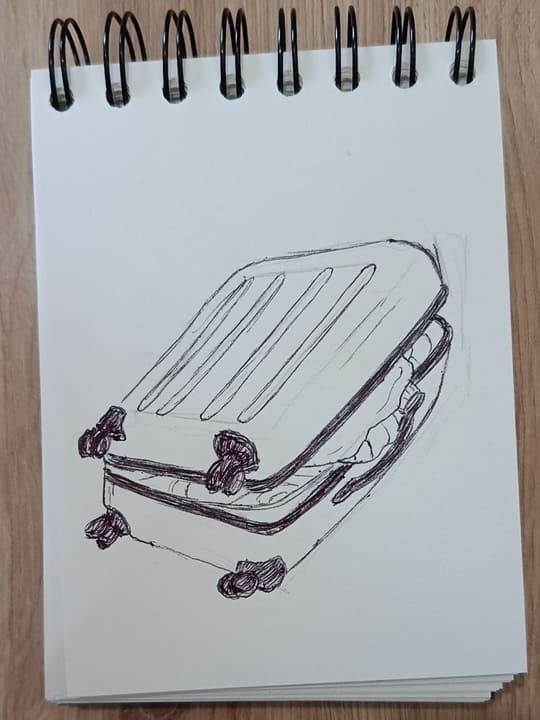
Step 6: Draw the clothes sticking out from the suitcase. It is just a bunch of wavy lines and part of a sleeve or a sock.
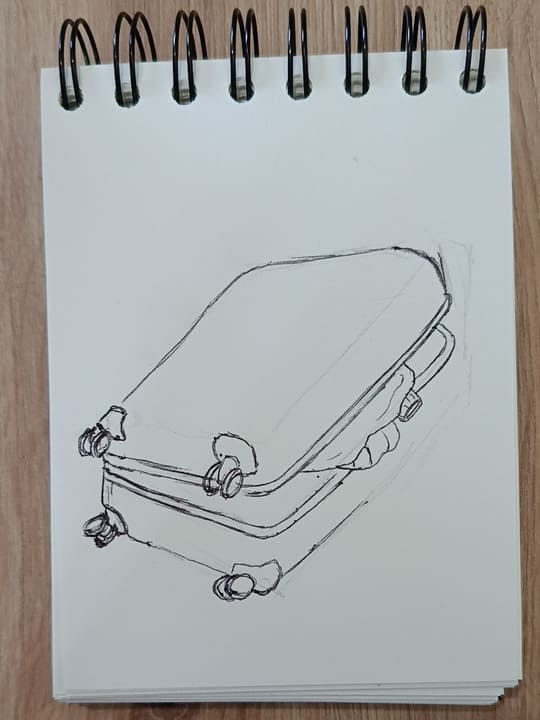
Step 7: Draw the inner pocket of the suitcase. It is just two parallel lines. Then, above that, add some random lines to indicate the rest of the suitcase contents.
Step 8: To add the handle, first draw a sideways U shape with a longer top part. Then, from there, add two parallel curved lines. If they overlap with the clothes sticking out, make sure that parts of the handle are hidden. If they are not hidden by the clothes, add a matching sideways U shape for the end of the handle.
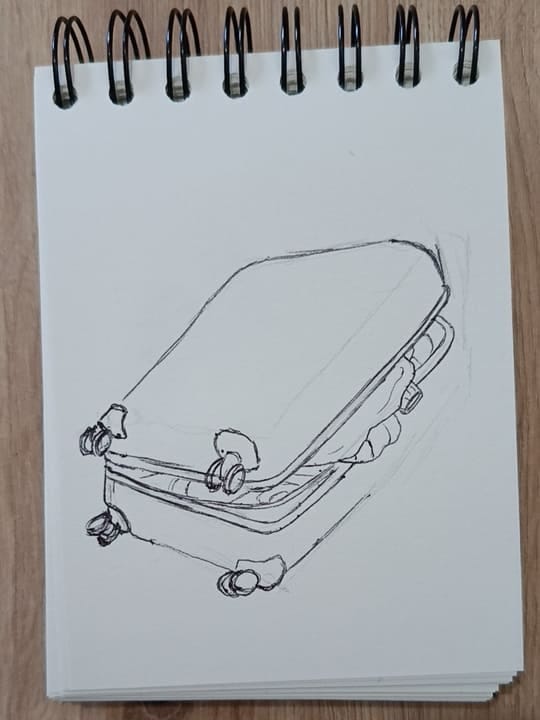
Step 9: Now we will add texture lines on the lid of the suitcase. First, take your pencil and draw a rectangular frame within which the texture is going to be. Leave a bit of space on each side, so it does not touch the edges or the wheels. Then draw two vertical lines inside the frame. The two inner lines, together with the left and right sides of the frame, give us four guide lines. Each guide line will become one texture line.
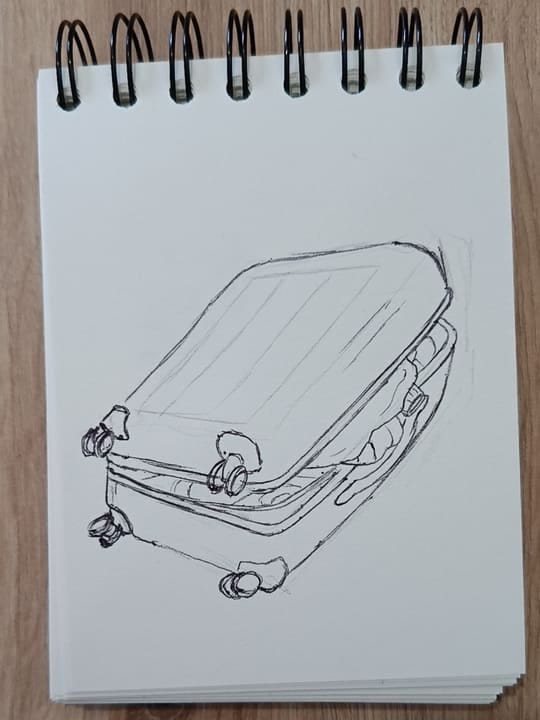
Step 10: Take your pen and draw the texture of the suitcase. Treat each pencil line like the middle of a texture line. With your pen, draw one line on each side of each pencil line.
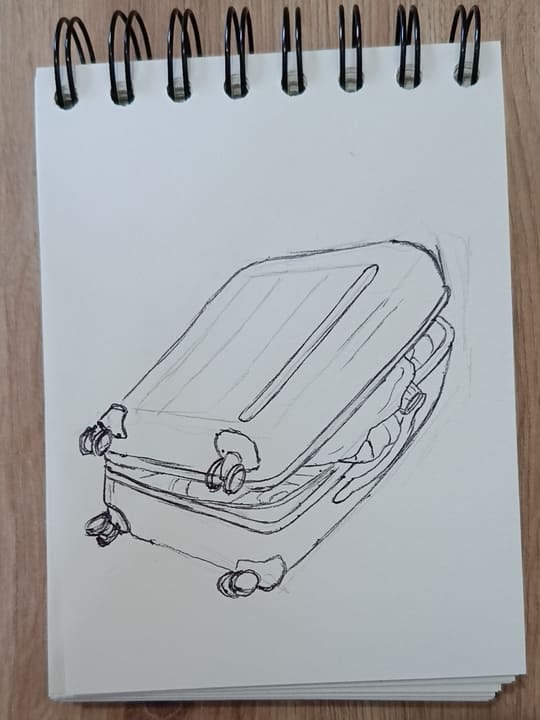
Step 11: What is left is the most fun part — coloring. Color in both zipper lines and the handle. Then color the wheels.
While coloring, try to make your lines follow the shape you are coloring. You can make them completely black, or you can leave out some spaces. If you choose the second option, I recommend coloring the entire wheels in one even shade first, and then making the parts that roll on the ground even darker. That way, we will still have the feeling that they are wheels and not just random shapes.
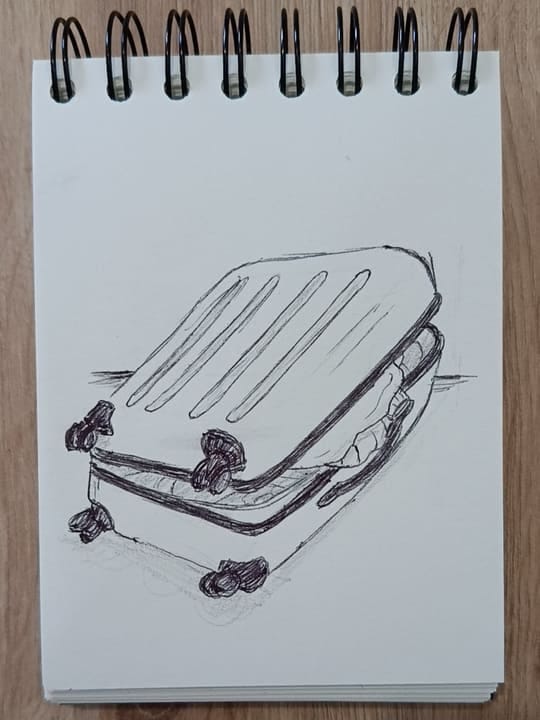
Step 12: Add a horizontal line so our suitcase is not floating in space. Then, with your pencil, add a bit of shading. Make the inside of the suitcase darker, and add a shadow near the bottom part, where the suitcase is touching the ground.
Gentle Tips for Easier Drawing
This drawing is a bit harder, mainly because of the wheels. That is why they are filled in black — to make them, and any little mistakes, less obvious. So don’t stress over them. They are just a small part of the drawing.
A simple way to make this easier is to draw the wheels in pencil first. That way, you can erase, adjust, and only trace them with a pen once you are happy with the shape.
This drawing may require a bit of courage, but it is just lines on paper. You can do it!
I hope July brings you calm moments and good little adventures,
Yours in ink and paper
P.S. Based on the drawings some of you sent me, I noticed that most of you draw in rectangular sketchbooks. So I am switching from square paper to rectangular paper as well. I will be using A6 paper: 10.5 × 14.8 cm, or 4.1 × 5.8 inches.